It’s actually quite simple if you can believe it! This is my second time painting kitchen cabinets with just a roller and I have learned from my mistakes from the first time around, so I’m excited to share my tried and true tutorial with you!
Step 1: Remove drawers + doors
Trust me when I tell you that it’s so much easier to just remove the doors and drawers rather than trying to paint around everything. This is also going to ensure that your cabinets are drip free and smooth as can be.
Step 2: Sand your cabinets
This is a crucial step if you’re wanting to get some longevity out of your cabinets. My first experience painting cabinets I skipped this step because it sounded like a lot of work (it’s really not). Please don’t skip this step. All you need is a palm sander, here is my favorite one for $50! Our cabinets were in great shape so the only reason I sanded was to take off the shine so that the primer would really stick. If you have cabinets that have some texture and nicks, this is going to be a really important step in making your cabinets look smooth. Make sure to wipe everything down with a damp rag a few times so your cabinets are smooth and dust free.
Step 3: Prime time, baby!
Using my ABSOLUTE favorite roller for cabinet painting, apply at least one coat of primer. This is the primer I use and one coat works great. You’re going to use this same type of roller to apply the paint as well. It’s a high density foam roller which basically just means that it’s going to apply the primer + paint in a thin and smooth fashion. It’s not going to be quite as smooth as a sprayer, but you can see in my photos that the texture is so minimal!! My only tip is when you are applying primer: apply a thin coat and go back over every area to make sure there are no lines from the roller. Allow at least one hour for the primer to dry before painting.
Step 4: Let’s paint!
I know what you’re thinking. Your cabinets are probably looking pretty rough right now with your patchy primer and you’re worried you’ve ruined your kitchen. Don’t worry, they look exactly how they’re supposed to look and they’re about to look SO GOOD. Whatever cabinet paint color you choose, make sure you’re getting at least a satin finish. Anything less than satin will be hard to keep clean. I use satin finish for my cabinets because I don’t like them to be overly shiny but they’re still functional for such a high traffic area.
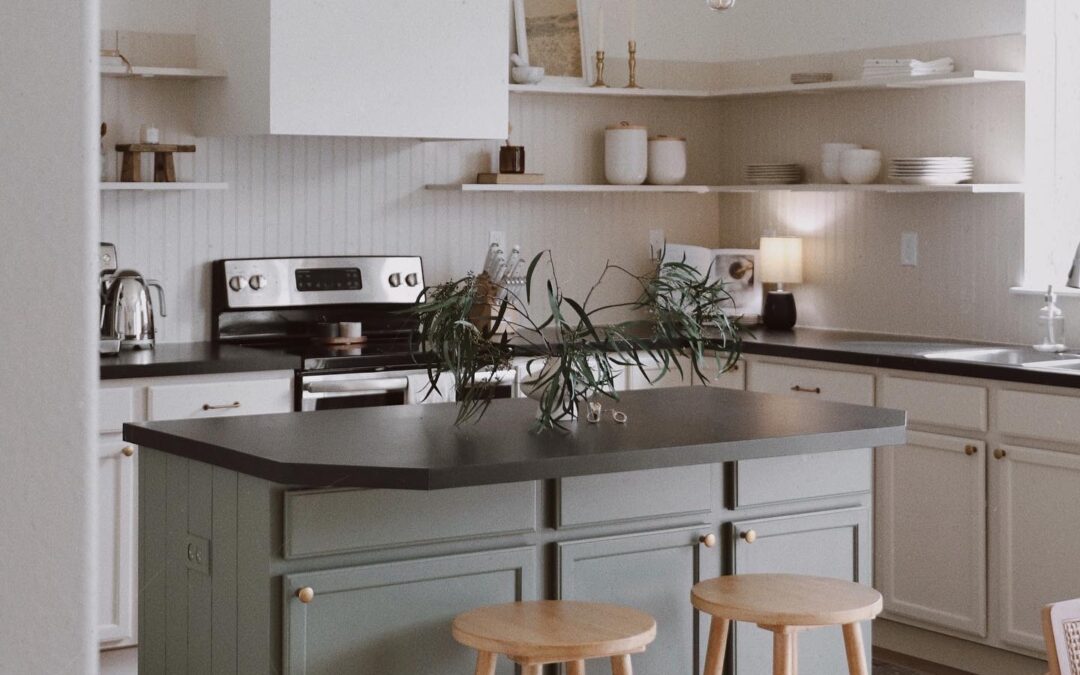
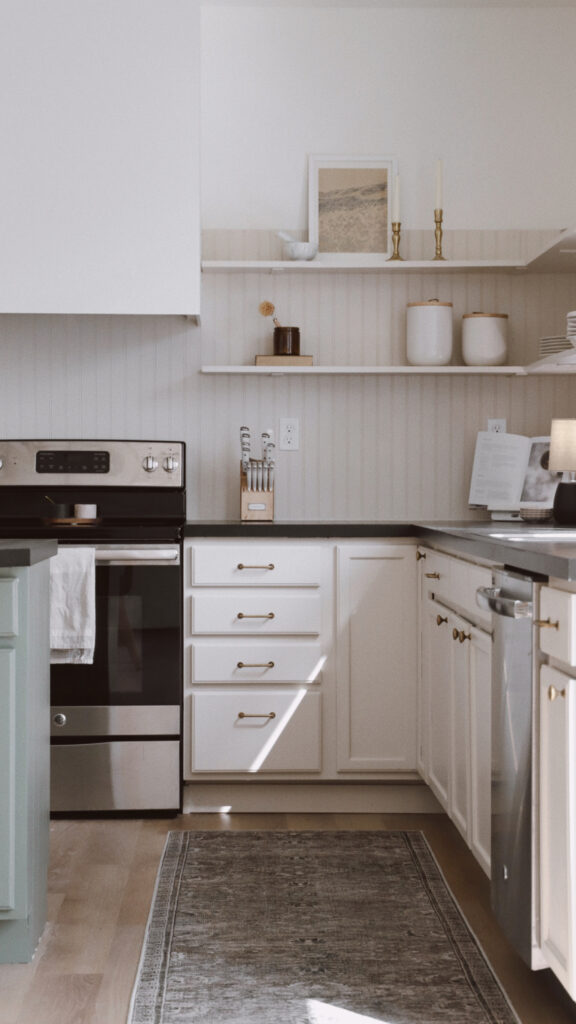
Here are my current cabinet colors if you’re looking for some inspiration: Conifer Green by Behr + Roman Plaster by Behr
This step is going to be the most time consuming, but it’s also the perfect time to make a fun drink, turn on your favorite show or podcast and just jump in! Apply your first coat of paint using a high density foam roller. Again, the name of the game here is thin, smooth coats. Make sure there are no lines from the roller and no drips developing. I like to go around the cabinet base a couple of times just to make sure there are no drips.
If you have time to kill during this project, giving the most time between coats is the best. But if you’re in a rush, an hour or so between coats should be just fine! Apply two coats of your paint color and wait to dry completely before putting the cabinet doors + drawers back on your base.
Hot tip for first time cabinet painters:
If this is your first time painting cabinets and you are absolutely terrified to get started, hear me out. Go on Facebook Marketplace or shop your own home and find something you can paint. You want it to be roughly the same material as your cabinets so you can get a good feel for how the paint is going to apply. This doesn’t need to be anything crazy, just something small that you can get your jitters out on! My advice is to go through the exact process outlined above and just get comfortable with it. You’re going to be pleasantly surprised how easy it is to transform something with paint and you’re going to become addicted. Sorry…!