I’ve painted a lot of things in my life. Floors, cabinets, furniture, you know, the usual. So when I was researching affordable ways to transform our kitchen countertops until we can afford to fully replace them, I kept coming back to paint. Now, there are a lot of countertop painting kits out there that I researched and ultimately decided against mostly because they were around $200-300. I knew I could do it cheaper. Our countertops are about 40 sq.ft. and I was able to complete this process for much less.
Here’s how it went:
Product List:
Palm Sander (optional)
Oil Based Primer: Make sure whatever primer you use is oil based. It is best for waterproofing and I think it will last a lot longer than a water based primer for that reason.
High Density Foam Rollers: Grab 3 of these because you’re going to need them for every step. I swear by these high density rollers because they apply paint in a smoother, thinner way than anything else I’ve used before.
Polyurethane Sealer: I used this clear matte option because I wanted the least amount of shine possible.
Step 1: Sand your counters
This step was optional for me as our countertops were a smooth laminate, but if you have a surface that is a little rough, sanding is going to be important to get a nice smooth surface for the primer to really stick to. Wipe down your counters with a damp rag a few times to make sure there is no sawdust left before moving on.
Step 2: Prime your counters
Just a warning in advance, this step stinks. Literally. The only downside to an oil based primer is the smell. Maybe crack open a couple windows during this step and put on a mask if you are sensitive to smells. After taping off the walls that your countertops hit, apply a thin, even coat using one of your high density foam rollers. Walk around your surface and make sure to minimize the lines from the roller and make the primer as smooth as possible. Allow at least two hours to dry before moving on.
Step 3: Time to Paint!
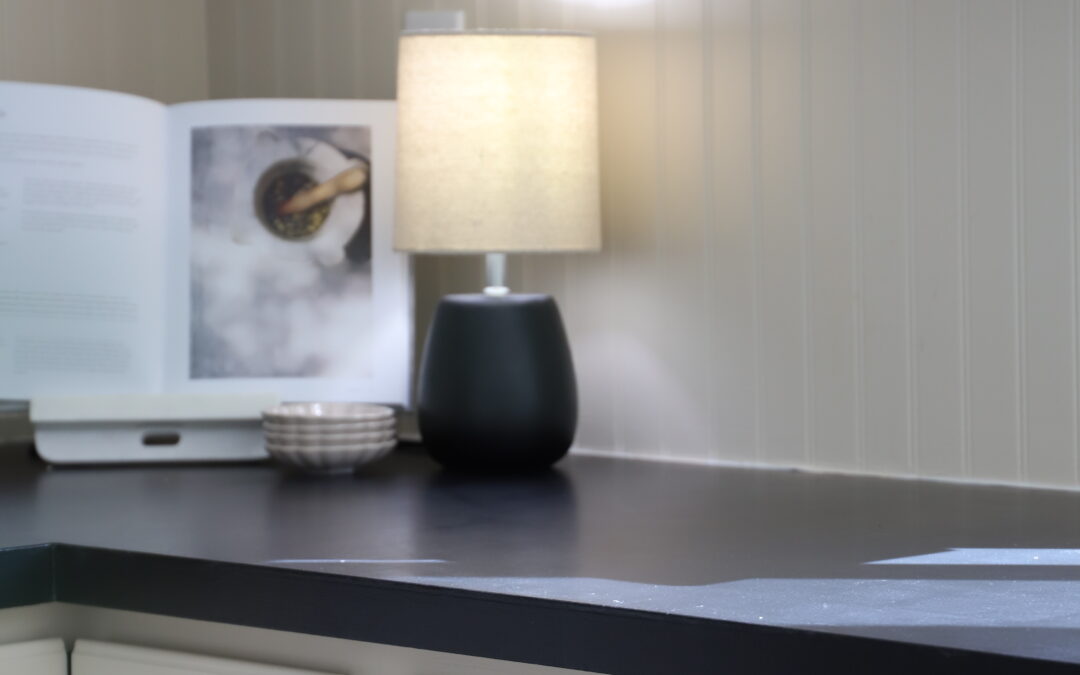
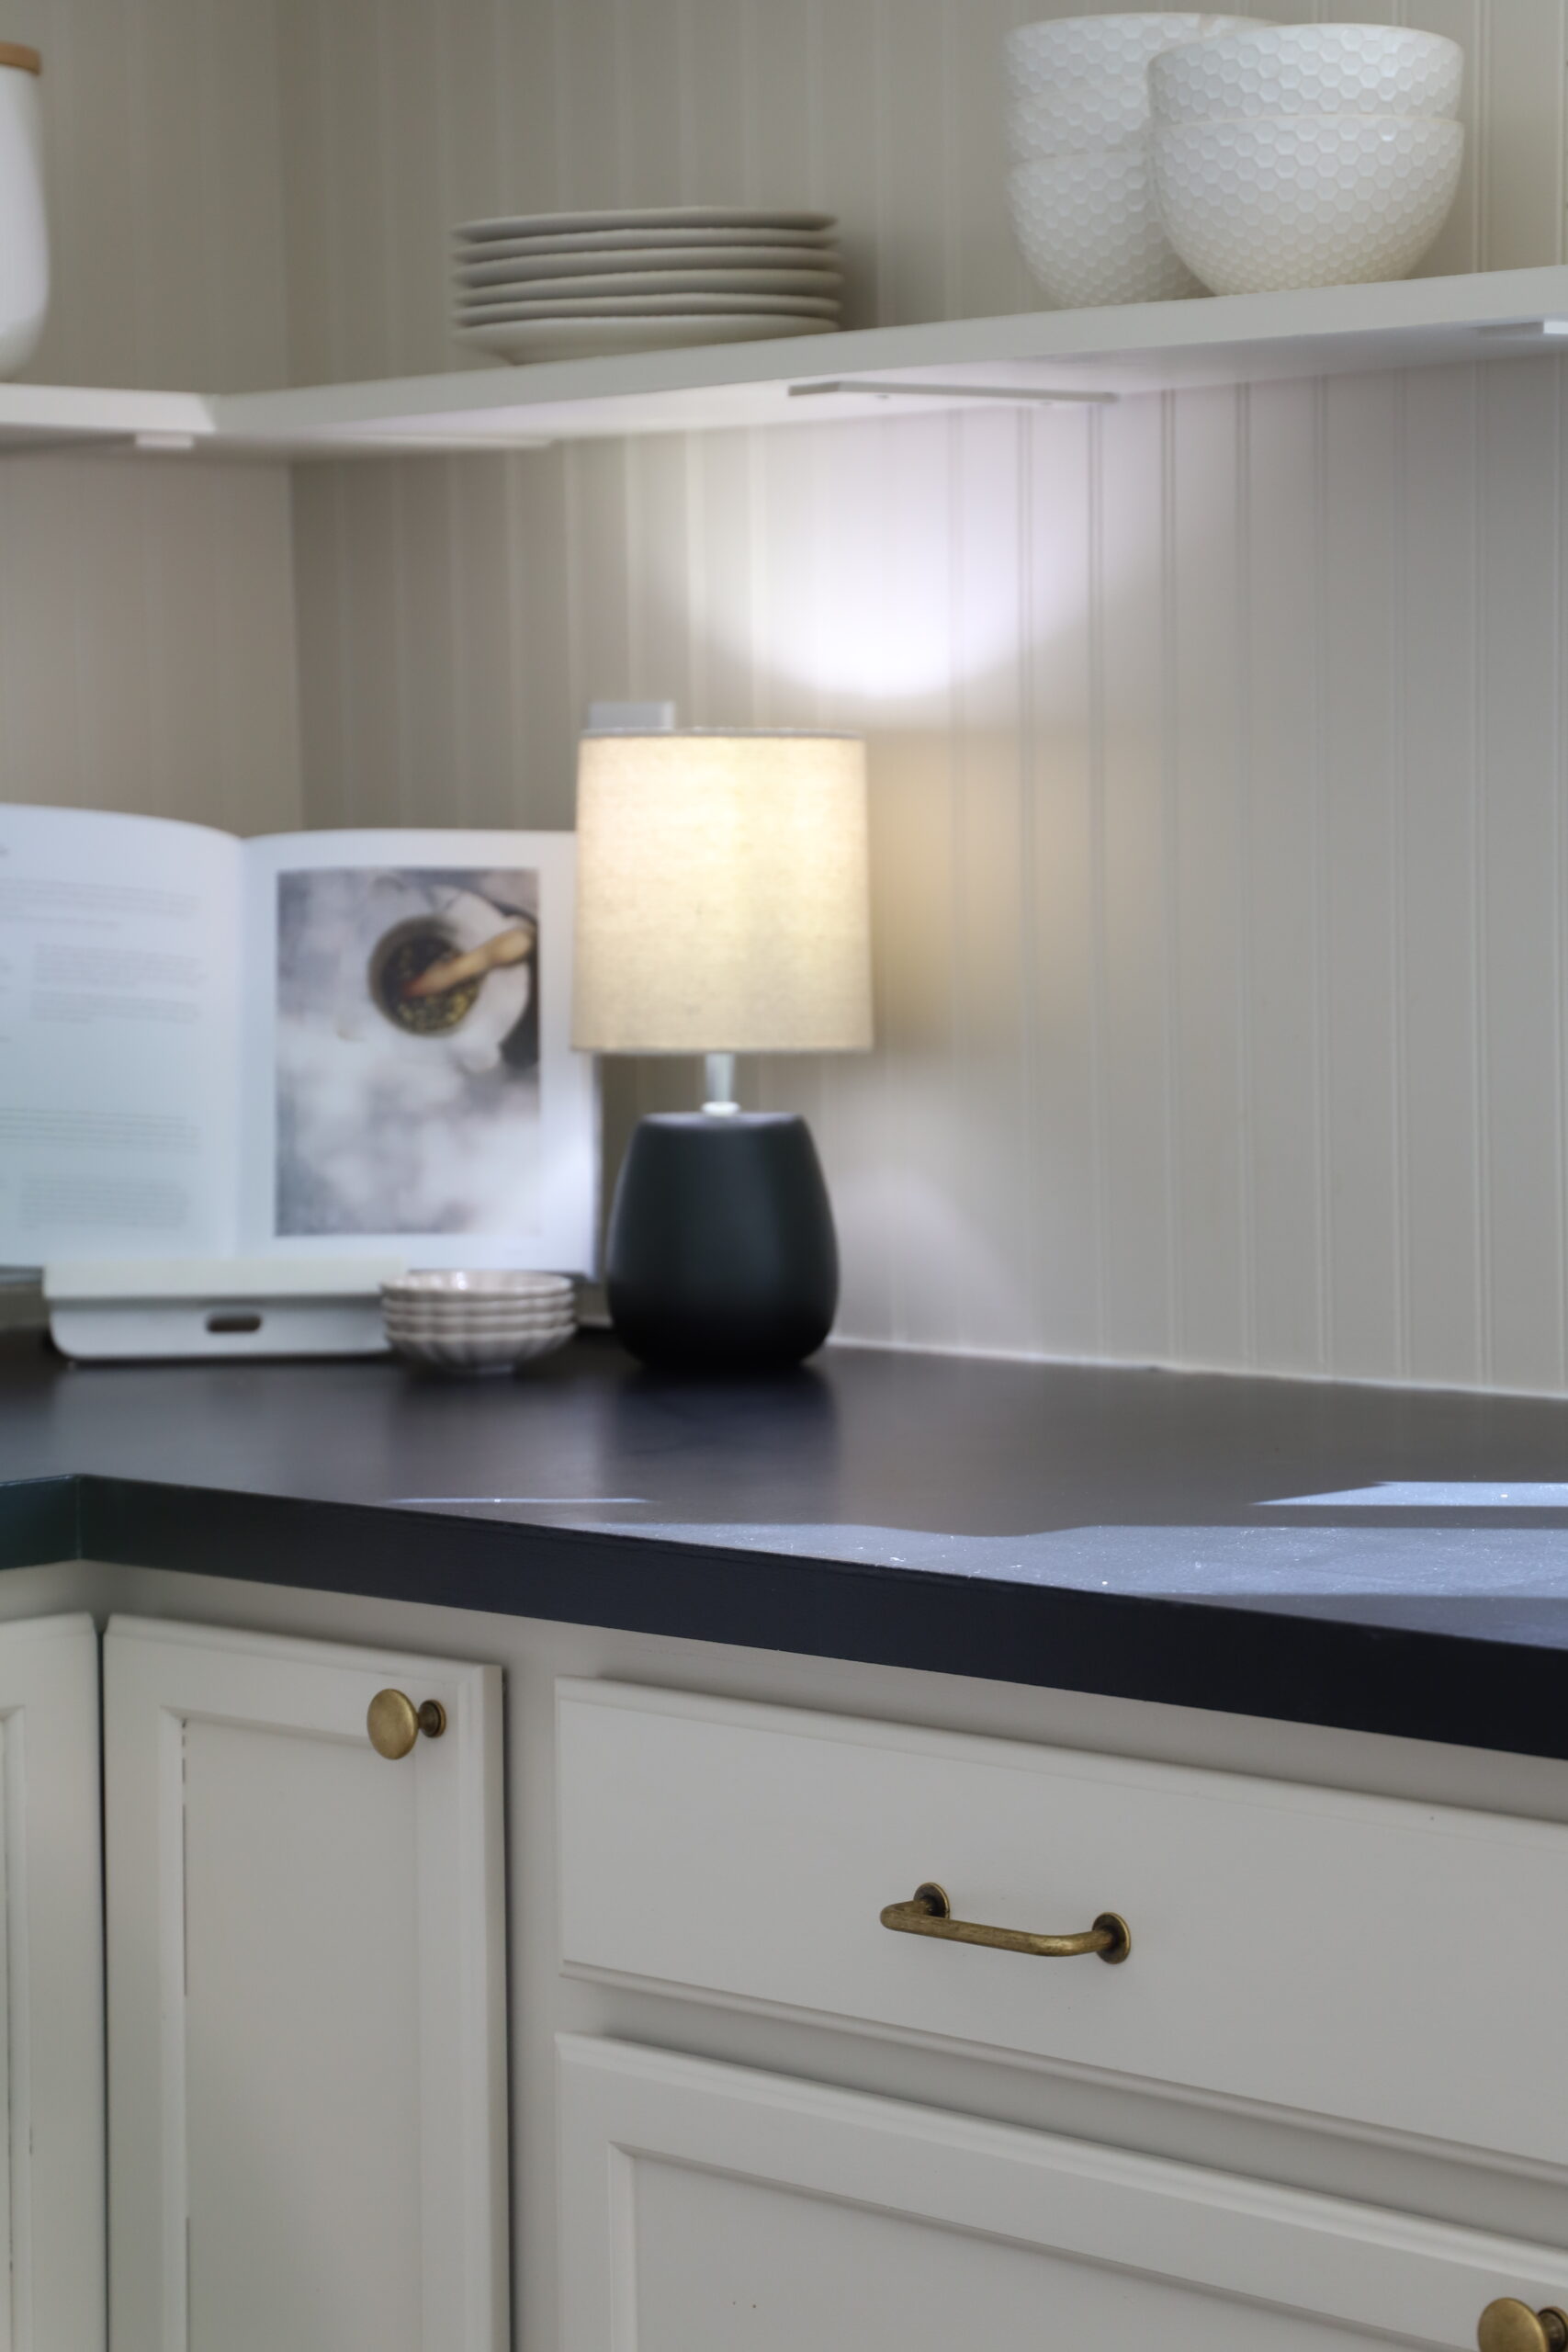
I went with black chalkboard paint because I wanted to get the look of leathered soapstone as best I could. Obviously other colors would work as well, but if you’re going for realistic, I would say that black and white are your best options. With a new foam roller, apply two coats of paint. Again, apply as smoothly as possible and try to minimize lines. Wait a couple hours between coats.
OPTIONAL STEP: After your two coats of paint have dried and you notice there are some bumps or imperfections, you can take a 400 grit sandpaper sheet to it and LIGHTLY sand it down. If you sand too hard you will take off the paint, so make sure you’re using a high grit (around 400) and not going too hard. I applied a third coat after this and was happy I did. Nice and smooth!
Step 4: Seal your countertops
This is the most important step in the process. It will minimize chipping and give you the most out of your painted countertops. I used a matte polyurethane sealant as I wanted the least amount of shine possible. Depending on how you want your counters to look, you can take some freedom with this step. Like I mentioned earlier I wanted a leathered look, which is just a fancy way of saying textured. So I applied the first coat of sealer with a foam roller so it was thin and smooth. But when I applied the second the coat, I applied it with a brush and laid it on quite a bit thicker than the first coat. Below you can see a picture of what I mean. After applying with the brush, I went over it lightly with the foam roller to create this leathered finish and I’m so happy I did!

But like I said, if you’re wanting your countertops to look as smooth as possible, just apply your second coat the same way you applied the first coat. Nice and smooth.
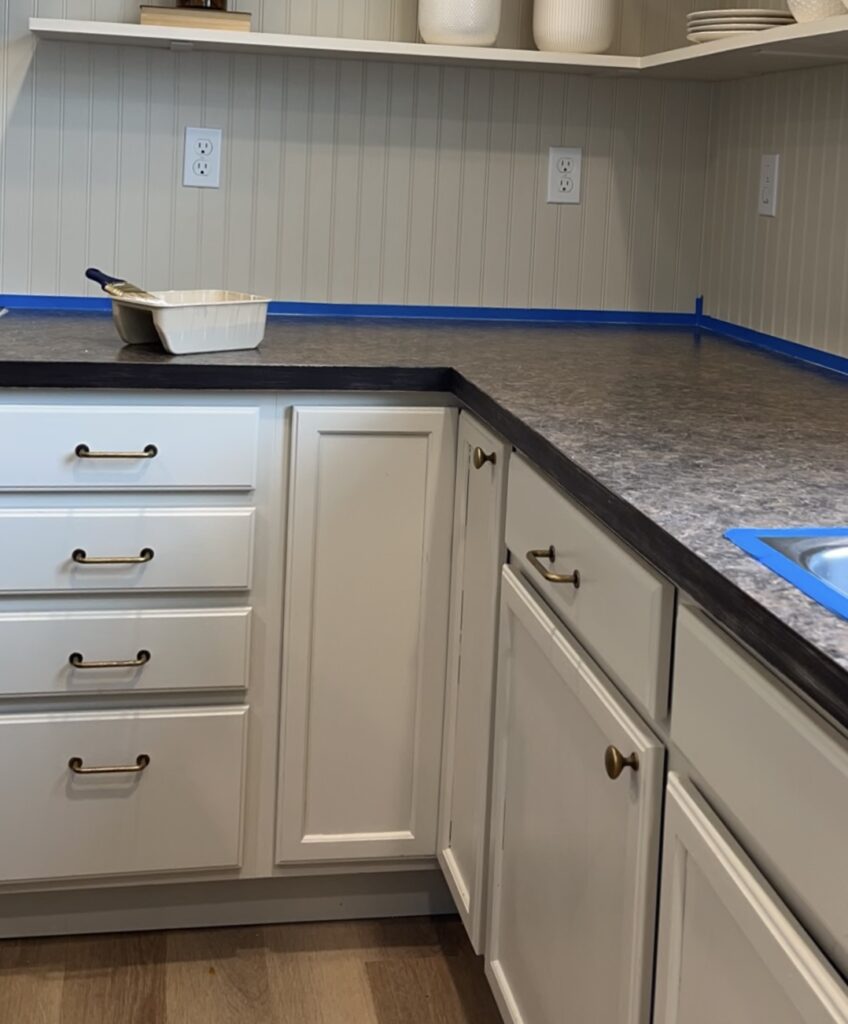
Step 5: Caulk your seams!
Once your paint has had about 24 to dry and cure, it’s time to caulk! I used black caulk to caulk around the sink so that it would blend with the countertops. For the seams against the backsplash, I just used white as it’s close to my backsplash color and blends in nicely. Caulking is super important because it’s going to seal all the areas where water would creep in and peel up your paint. So don’t skip this step!
The hardest part of this project is the waiting. There is quite a bit of waiting time between coats and it’s a little frustrating because you can’t really use your countertops until they’re dry. Another thing to note is that the sealer takes a lot longer to cure than you think. If you read the back of the can, it outlines the drying time. But the one I used didn’t fully dry for 48 hours meaning we didn’t use our countertops for that time. They will still chip up until the sealant has fully dried. The can also says that it doesn’t FULLY cure for 7 days, but we began lightly using them after that first 48 hours. Just avoid heat and water contact as much as possible for that first week for best results.
FAQs about painted counters:
“Are they food safe?” I definitely suggest no direct contact with food on your countertops until they have fully cured for a week. After that, I would use it at your own discretion! I personally don’t like food directly on my counters ever, but I think they are just as safe as any other man-made countertop material. I’m obviously not a scientist so please do your own research on this if you frequently have food directly on the countertops without using a cutting board, plate etc.
“Can I do this process on butcher block?” Totally!! Just make sure you’re sanding well before priming so it really sinks in.
“Are they heat resistant?” Just like I don’t like putting food directly on countertops without a barrier, I have never put a hot pan on a countertop without a heat pad underneath it. So I cannot confidently answer this question and I’m too scared to test it out lol. I would say they are probably as heat resistant as whatever you had underneath the paint so use at your comfort level.
“How do you clean them?” For daily cleaning, your damp kitchen rag is going to be just fine! I also use a natural cleaner like Mrs. Meyers and have had no issues. The sealer I used also says that it’s cleanable with soap and water!
“How durable are they?/Do they chip?” Ah, the most frequently asked question. My answer is not going to be very helpful if you’re reading this in August of 2022 because I’ve only had them for a week. I really have no idea. That’s the downside to DIY; it’s really just an experiment and I’m crossing my fingers that it’s going to work. Like I mentioned before, I’ve painted a lot of things, including floors. I used a process very similar to this in our last house and used the same poly seal. I never had any problems with chipping, AND THAT WAS ON THE FLOOR. As time goes on, I will share updates here on how they have held up but I feel good about them though.