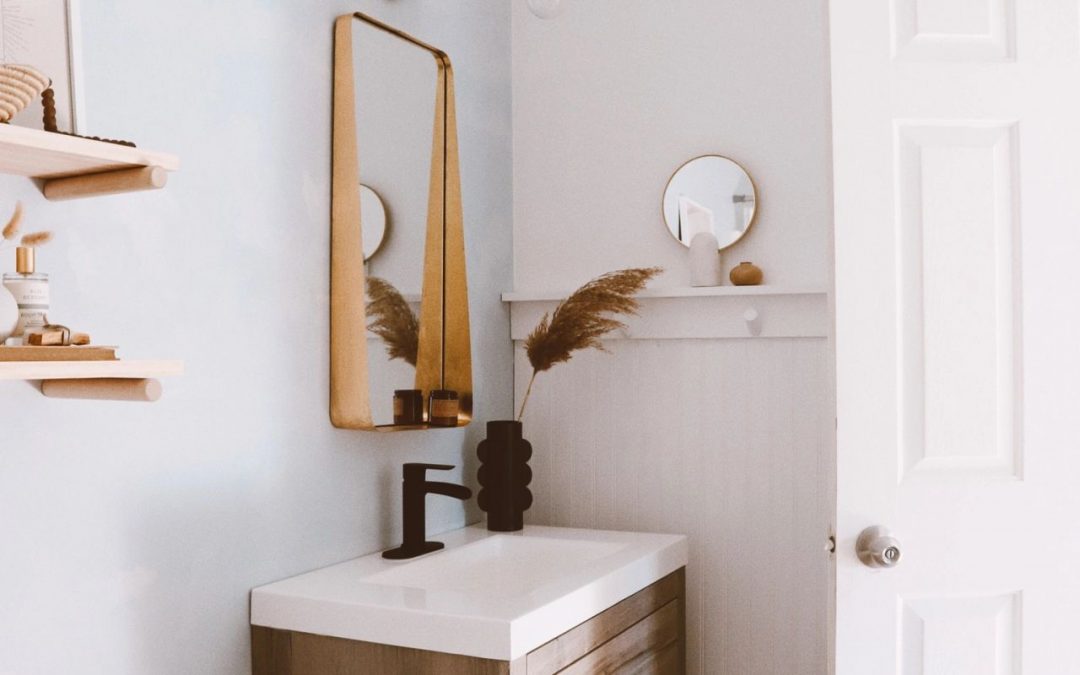
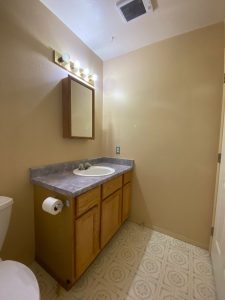
No, that’s not a click-bait title, this is for real FOR REAL. Our outdated 90’s builder grade home came with two bathrooms. Our guest bathroom in particular was adorned with cheap vinyl flooring that was starting to yellow, a bulky oak vanity that had zero personality + less storage than you’d expect for the size, and a wall color that can only be explained as “it must’ve been on sale”. Needless to say, it needed a fresh coat of paint and some creative direction. Derek gave me strict guidelines that I could only use funds I made selling the “junk” that’s been sitting in our garage for months. This is just your friendly reminder to LIST THE STUFF THAT’S BEEN COLLECTING DUST IN YOUR GARAGE because I made enough to fund this bathroom and more! Alright, enough pleasantries, let me break it down for you:
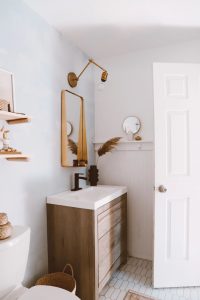
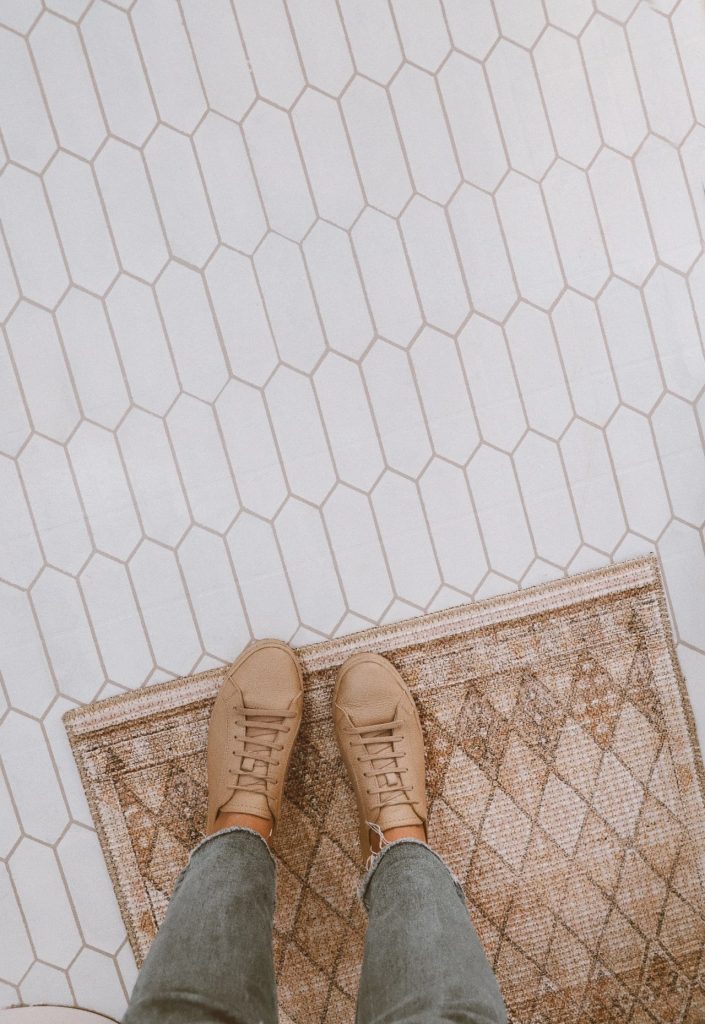
You might be asking, “How did she tile the floor with no power tools?” Guys…it’s a stencil. And before you think I’m crazy, check out my tutorial here because it’s so easy and affordable, anyone can do it! If you have some old vinyl, linoleum, or even tile, you can do this! We stenciled our kitchen floors a year ago and they have held up wonderfully, so I was dying to try it again. I used a design from Royal Design Studio and I’ll link it here. There are endless stencil patterns to choose from, but I’m always drawn to the realistic “tile” patterns.
A super simple way to update a space is your walls. Painting over an old, dirty wall color makes such a difference alone. Our entire home is painted with Ultra Pure White by Behr, and that’s what I used in this bathroom as well. So fresh + clean and no undertones! I also added some really fun wallpaper from Livette’s Wallpaper: a vintage cloud wall mural! This space is windowless and dreary, so I thought it would be genius to bring in a view of the “sky”! This is my second time using Livette’s peel and stick wallpaper, and I’m such a fan. It’s so easy to install and it’s removable, so even renters can hop on the trend.
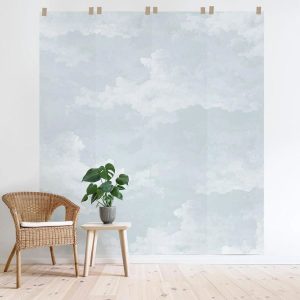
Blue Vintage Cloud Mural from Livette’s
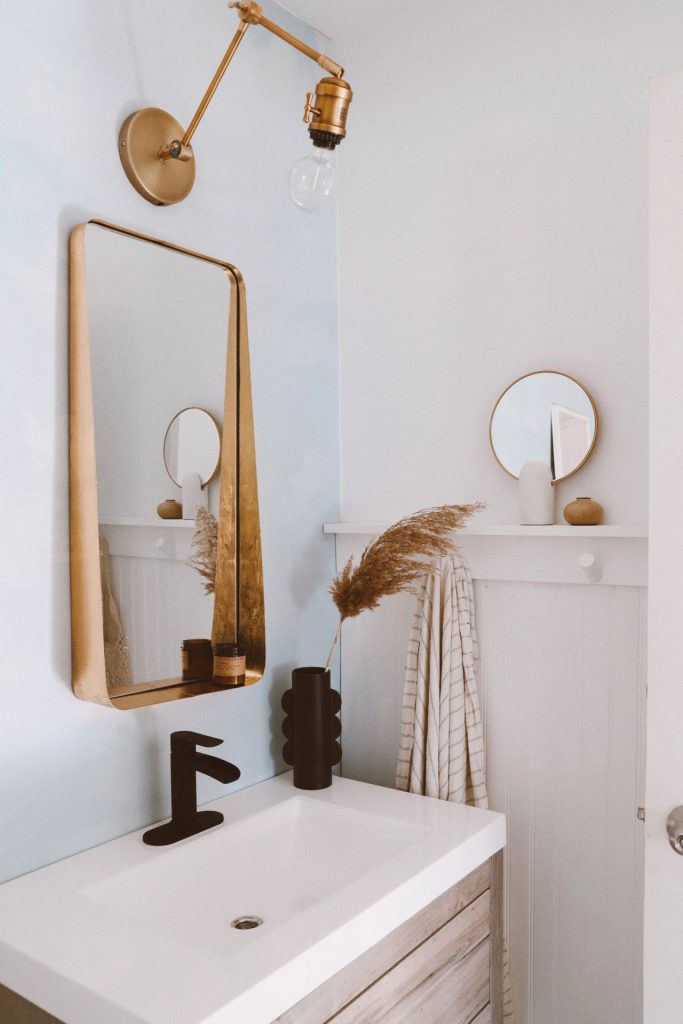
Next project was this beginner friendly peg ledge wall! I bought a sheet of bead-board from Home Depot (less than $20) and had them cut to the length of my wall. I used Liquid Nails to fasten it to the wall. I then used two pieces of pre-primed wall trim for the shelf (home depot cut to the exact length of my wall for free) and used Liquid Nails to fasten
.*1×4 for the piece against the wall + 1×3 for the ledge.
You can find tips for installing from my girl, @helloimaubs here. Lastly, I added these wall hooks to complete the look. They come with everything you need to install them easily. I painted over the trim, bead-board and hooks with my wall color Ultra Pure White for a seamless look!
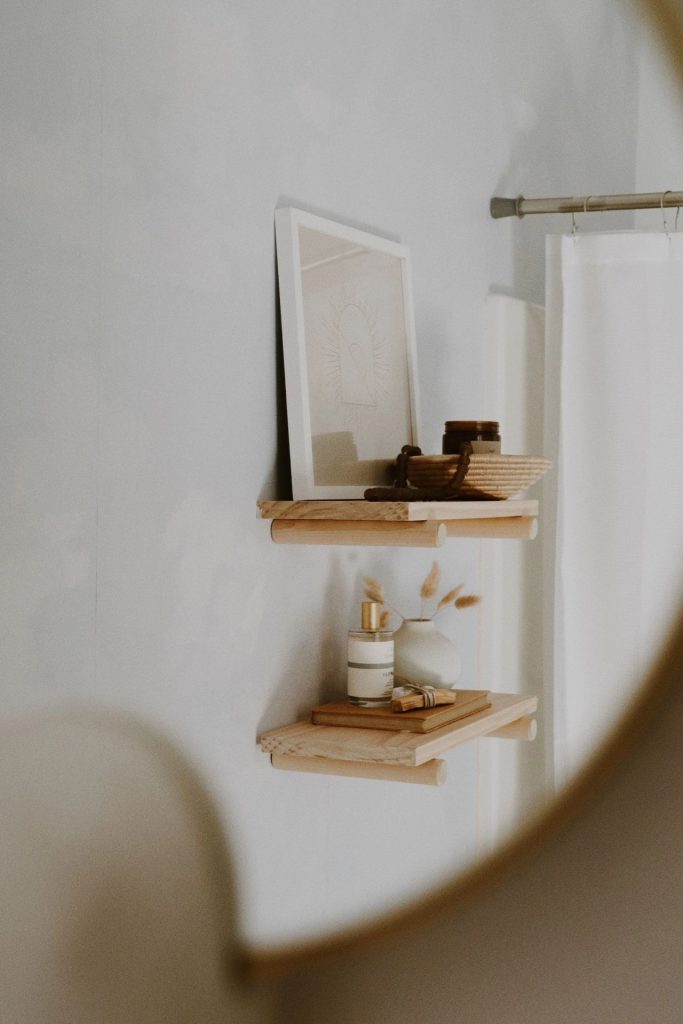
Who doesn’t love a good shelfie?! I had the HARDEST time deciding on what kind of shelves I wanted above the toilet. There are so many different styles out there, but none were vibing with me until I saw this insanely cheap and easy tutorial from @designonhermind. I actually had all the supplies here at home so it cost me ZERO DOLLARS. Derek was pleased. I realize now that you will need a drill for this portion, so maybe my title WAS click-bait??
That about brings us up to speed for all the DIY’s done in this space. But there are some delicious decor elements in here that I’m going to source for you guys. But first, I have to mention the SOFTEST towels we’ve ever owned. I’ve never owned nice towels, mostly because if you do any shopping, you quickly realize that a quality set of towels can be at least $100. We just don’t have it in our budget to spend $200 on towels for the both of us. Enter Italic. I scored this double set of body, hand and face towels for $45 TOTAL. And they are WIDLY SOFT. I just had to share. And this dreamy towel holder is from Urban Outfitters but currently sold out *cue eye-roll*. Here’s an alternative!
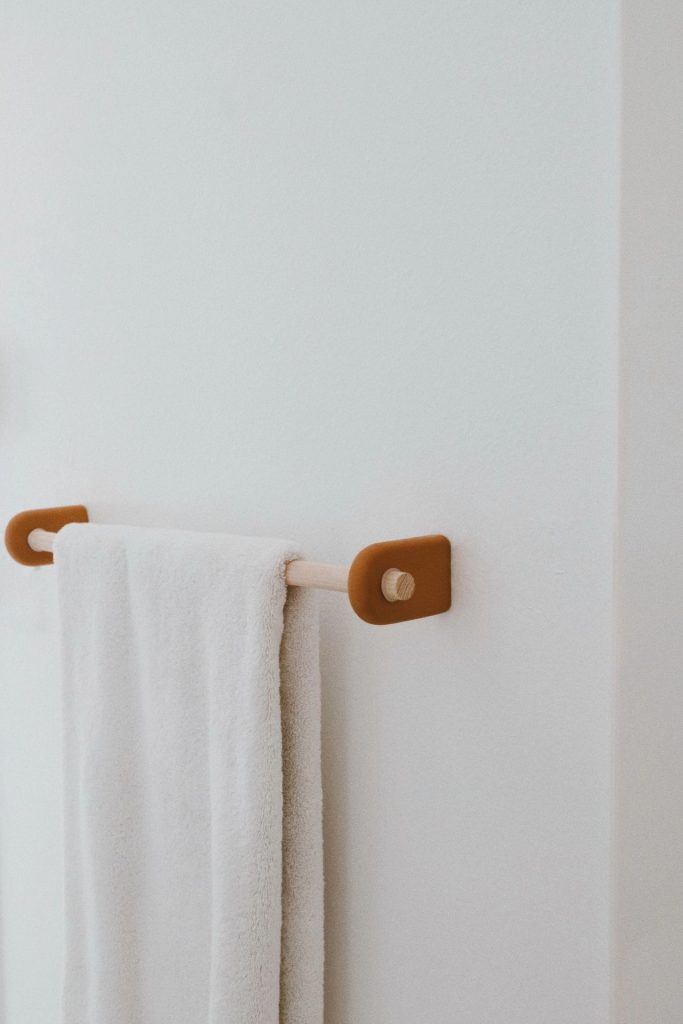
SOURCE LIST FOR ALL DECOR + HARDWARE〰️
Patterned Jute Rug (use code SWEETBUNGALOW15 for 15% off shop-wide)
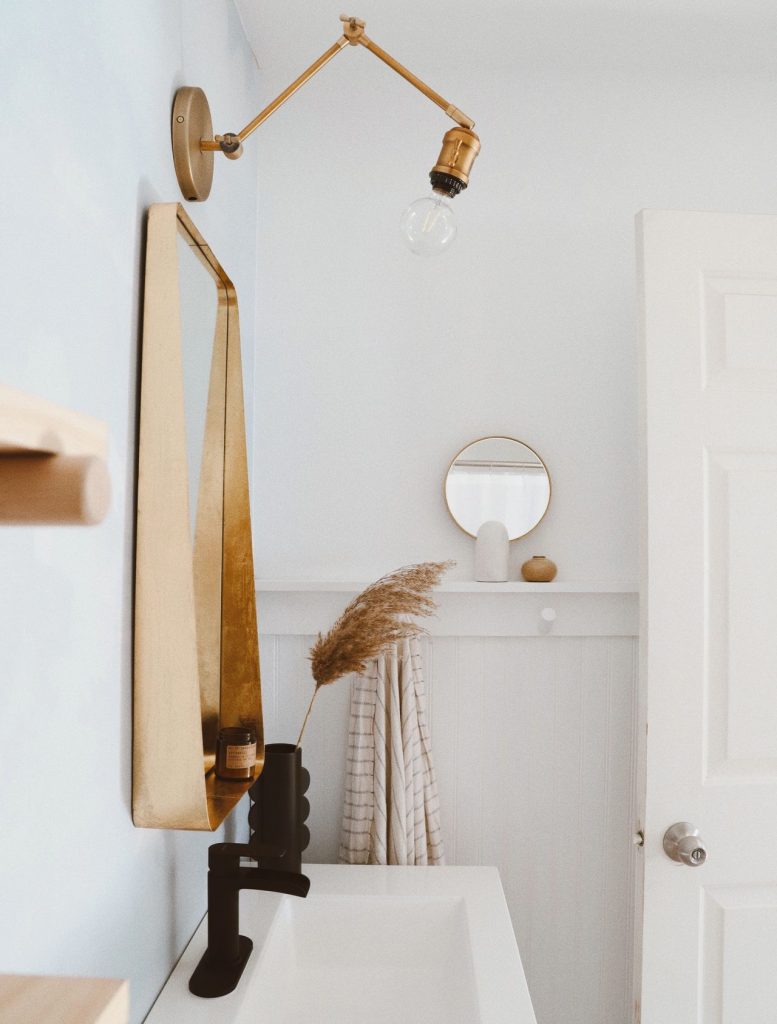
“Sela Rounded Edge” Brass Wall Mirror- Urban Outfitters but sold out
Above Toilet Shelf Decor (use code sweetbungalow20 for 20% shop-wide)
If you’ve read this far + still have questions, feel free to DM me @sweetbungalow! I hope this has encouraged you to tackle that bathroom you’ve been putting off! YOU CAN DO IT!
